Home » Blog » Install Hadoop on Virtualbox Virtual Machines
Install Hadoop on Virtualbox Virtual Machines
Introduction
Hadoop is widely used for 'big data' storage and processing currently. This article summarises how it can be installed on a Virtualbox virtual machine.
Create a Virtual Machine
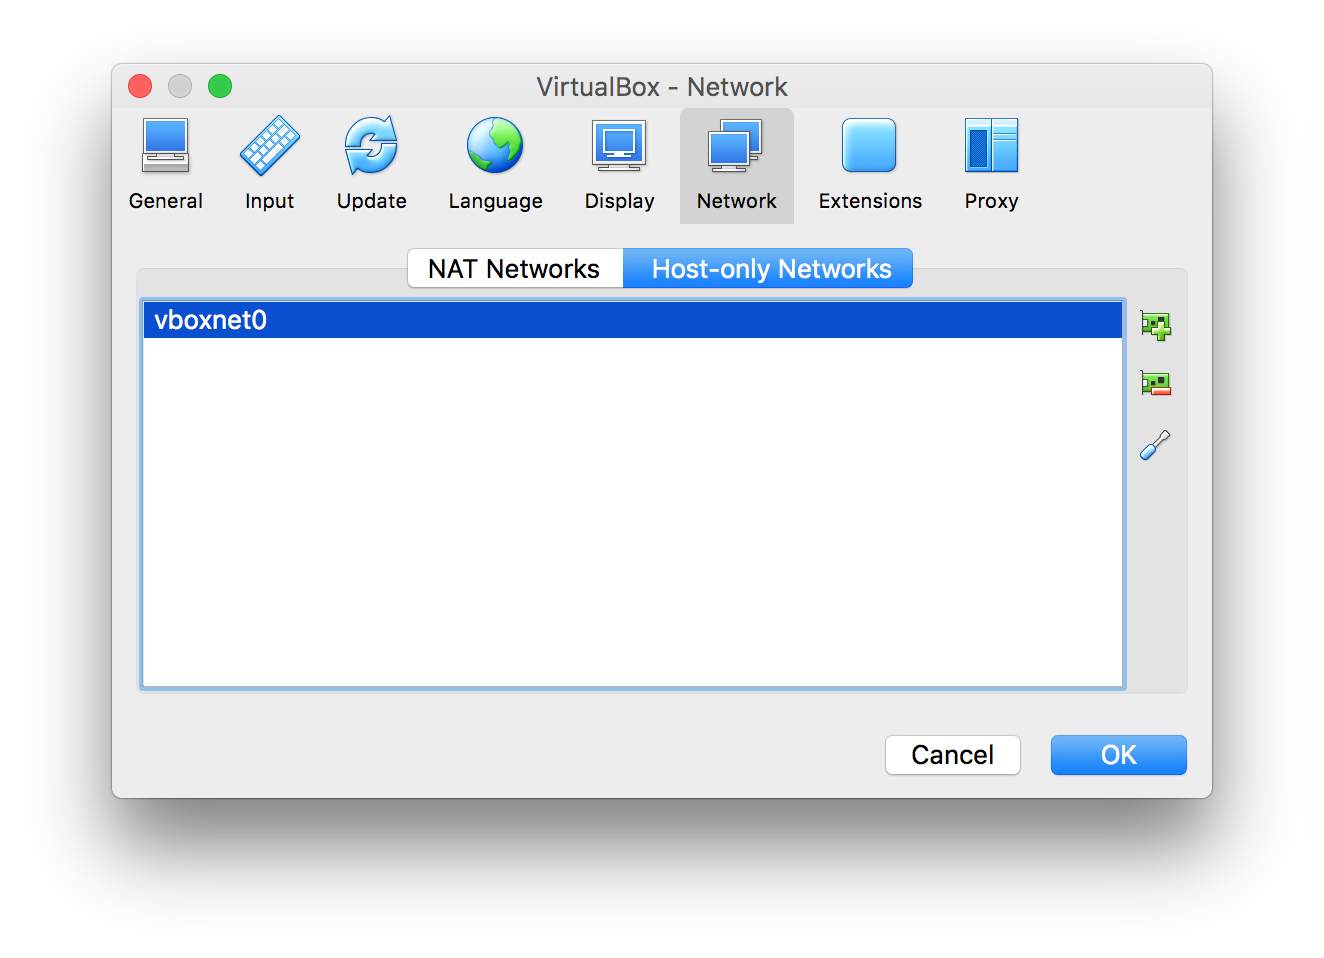
This is straightforward in Virtualbox, the only thing we need to pay attention to is the network. For me, I use TWO network adaptors, one attached to NAT, the other to Host-only Adaptor. By default the Host-only Adaptor is empty, and we need to add one through the Virtualbox network preferences, e.g. vboxnet0 with IP addresses of 192.168.56.1/24. DHCP is recommended to be off.
The reason I have two network adaptors is that, through NAT, the virtual machine can access the Internet, and with the Host-only Adaptor, the host machine is within the same local network of the virtual machine. A bridge connection, of course, can do both, do it if you know how it works.
The following figure shows the Virtualbox network preferences panel.
Install CentOS
During the Installation
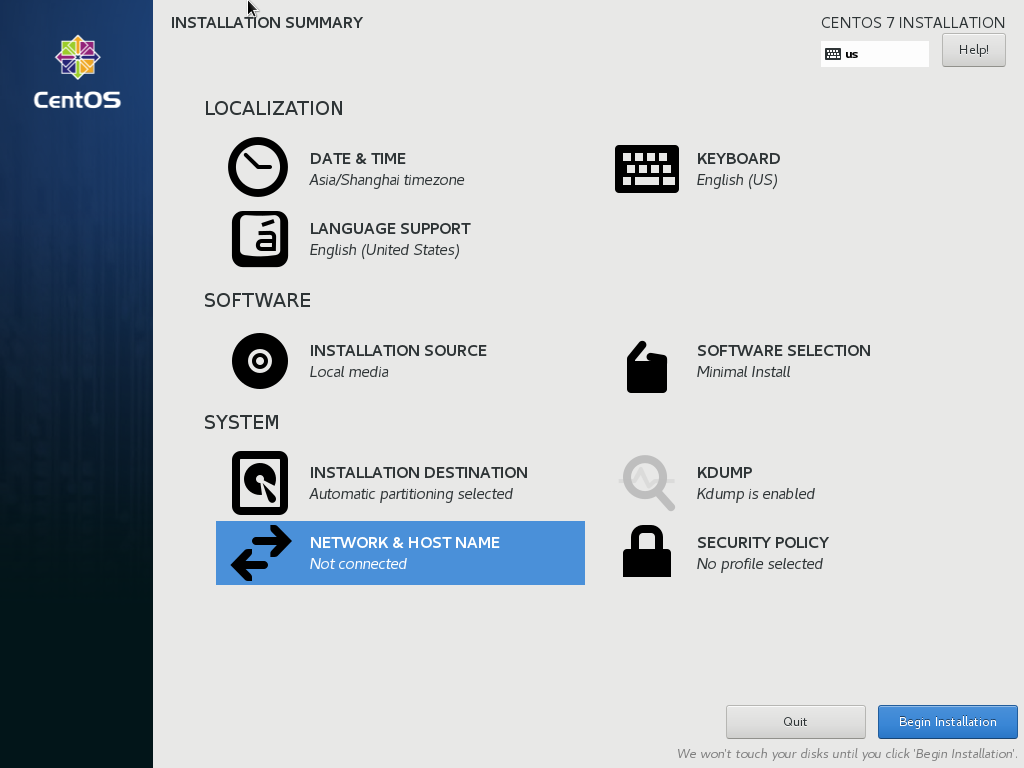
CentOS ['sen-toes] has a neat GUI for the installation, which is informative enough by itself. There are several things worth pointing out.
- Automatic partitioning is sufficient for our purpose. This leaves two partitions, one for the /boot and one for the root /. No partitions for the swap or other mount points, e.g. /home, /var are created.
- The network and hostname can be configured here if one prefers using GUI. We can also do this later by editing various configuration files.
- A user can be created and made as an administrator, although we can do this later in command line.
The following figure shows how the installation GUI looks like.
User Creation and Administrator Privilege
In case we do not create a user during the installation process, we'll have to log into the system using the root. Then we are free to create a user, e.g. hadoop, and make it administrator by
adduser -m hadoop
passwd hadoop
usermod -aG wheel hadoop
Network
Somehow, the DHCP client in CentOS 7 does not start with the system, and in order for the NAT of Virtualbox to work, you have to
sudo dhclient
After this, type ip addr, you'll see IP address like 10.0.2.xx listed below one of the network interfaces. This indicates the NAT works and we are able to connect to the Internet. So we can install and update some software packages, e.g.
sudo yum install -y vim perl openssh-client net-tools
sudo yum update
Then we need to configure the host-only network interface, enp0s8 in my case. Since DHCP is not enabled in Virtualbox on this adaptor, we need to configure the network address manually by editing /etc/sysconfig/network-scripts/ifcfg-enp0s8. The file name should be the same as the network interface, and may change on different computers. Open the file and change or add the following lines
ONBOOT=yes
BOOTPROTO=static
IPADDR=192.168.56.100
NETMASK=255.255.255.0
Then restart the network by
sudo systemctl restart network
and restart the DHCP client by
sudo dhclient -r
sudo dhclient
Type ip addr, you'll be able to see both IP addresses as shown in the figure below.

SSH
This SSH configuration aims to simplify the access between hosts in a cluster. First a private-public key pair is generated. The public key is then added to the list of authorised keys so that the host can log into itself without a password. This sounds a bit strange, but Hadoop in Pseudo-Distributed Operation does need to log into itself. SSH can be configured using
ssh-keygen (type enter, enter, enter)
cd ~/.ssh
cp id_rsa.pub authorized_keys
Also open the file /etc/ssh/ssh_config and add or uncomment the following line
StrictHostKeyChecking no
Turn Off Firewall and SELinux
I have no idea at the current stage why this is necessary. Linux firewalls manage incoming connections, and by default deny TCP connections to lots of ports. My guess is that Hadoop runs services over quite a few ports. Turing off the firewall is a simple way to allow connections to those ports, although it might be more secure to add iptables rules.
CentOS 7 comes with a firewall manager for iptables called firewalld. Thus to turn off the firewall, you have to
systemctl stop firewalld
systemctl disable firewalld
Security-Enhanced Linux (SELinux) should also be turned off (still I have no idea why) by editing /etc/selinux/config
SELINUX=disabled
Hostname and Hosts
Hostname, as it suggests, is the name of the host, or what the computer is called in the network. The default name is localhost. Change it to some meaningful ones, e.g. hadoop0, so that hosts in the same network can be distinguished from each other. Do this by editing /etc/hostname,
hadoop0.localdomain
Reboot the virtual machine and type hostname, we'll see the modified name of the computer.
Install JDK
Download and Uncompress
Download JDK from Oracle website, for example, I use jdk-8u144-linux-x64.tar.gz. Copy it to our virtual machine by
scp jdk-8u144-linux-x64.tar.gz hadoop@192.168.56.100:/home/hadoop
Then log into the virtual machine, make a folder /opt/jdk, change permissions and uncompress the tar file by
sudo mkdir /opt/jdk
sudo chown hadoop:hadoop /opt/jdk
tar -xzvf jdk-8u144-linux-x64.tar.gz -C /opt/jdk/
Environment Variables
Then add some environment variables by appending the following lines to the file /etc/profile
export JAVA_HOME=/opt/jdk/jdk1.8.0_144
export PATH=$JAVA_HOME/bin:$PATH
then type
source /etc/profile
java -version
If everything turns right, we'll be able to see something like
java version “1.8.0_144”
Java(TM) SE Runtime Environment (build 1.8.0_144-b01)
Java HotSpot(TM) 64-Bit Server VM (build 25.144-b01, mixed mode)
Install Hadoop
Download and Uncompress
Download Hadoop and copy it to our virtual machine by
scp hadoop-2.8.1.tar.gz hadoop@192.168.56.100:/home/hadoop
Then log into the virtual machine, make a folder /opt/hadoop, change permissions and uncompress the tar file by
sudo mkdir /opt/hadoop
sudo chown hadoop:hadoop /opt/hadoop
tar -xzvf hadoop-2.8.1.tar.gz -C /opt/hadoop
Environment Variables
Then add some environment variables by appending the following lines to the file /etc/profile
export HADOOP_HOME=/opt/hadoop/hadoop-2.8.1
export PATH=$HADOOP_HOME/sbin:$HADOOP_HOME/bin:$PATH
export HADOOP_INSTALL=$HADOOP_HOME
export HADOOP_MAPRED_HOME=$HADOOP_HOME
export HADOOP_COMMON_HOME=$HADOOP_HOME
export HADOOP_HDFS_HOME=$HADOOP_HOME
export YARN_HOME=$HADOOP_HOME
export HADOOP_COMMON_LIB_NATIVE_DIR=$HADOOP_HOME/lib/native
The lines starting with HADOOP_INSTALL may not be necessary, and I have no idea what they are for.
Configure hadoop-env.sh
Then open the file /opt/hadoop/hadoop-2.8.1/etc/hadoop/hadoop-env.sh and change the line
export JAVA_HOME=${JAVA_HOME}
to
export JAVA_HOME=/opt/jdk/jdk1.8.0_144
Configure yarn-env.sh
Do the same to /opt/hadoop/hadoop-2.8.1/etc/hadoop/yarn-env.sh
Configure core-site.xml
Put the following lines in this file
<configuration>
<property>
    <name>fs.defaultFS</name>
    <value>hdfs://hadoop0.localdomain:9000/</value>
</property>
<property>
    <name>hadoop.tmp.dir</name>
    <value>/home/hadoop/hadoop/tmp</value>
    <description>A base for other temporary directories</description>
</property>
</configuration>
The second property tells hadoop that hdfs files should be stored at /home/hadoop/hadoop/tmp (this directory is created automatically when formatting the namenode). Otherwise a directory will be created under /tmp/hadoop-$USER. Note that there is NO file:// URI scheme in front of the path. Some people say the path should start with file:///home/..., others say with file:/home/..., neither work for me and I don't know why.
Now we should format the namenode by
hdfs namenode -format
Pay attention to the result, if there are messages like
INFO util.ExitUtil: Exiting with status 0
congratulations, otherwise something is wrong with the core-site.xml file.
Configure hdfs-site.xml
Put the following lines into this file
<configuration><property>
    <name>dfs.replication</name>
    <value>1</value>
</property>
</configuration>
This tells the HDFS that only 1 copy of the data files is stored. Additionally, we can explicitly specify the paths for the meta files of the name node and data files of the data node, such as
<property>
    <name>dfs.namenode.name.dir</name>
    <value>/data/hadoop/dfs/name</value>
</property>
<property>
    <name>dfs.datanode.data.dir</name>
    <value>/data/hadoop/dfs/data</value>
</property>
But I am not going to do it now. Without these two paths, the files will be stored under hadoop.tmp.dir.
Configure mapred-site.xml
Put the following lines in this file and I have no idea why currently.
<configuration>
<property>
    <name>mapreduce.framework.name</name>
    <value>yarn</value>
</property>
</configuration>
Configure yarn-site.xml
Put the following lines in this file and I have no idea why currently, will figure out later :P
<configuration>
<property>
    <name>yarn.nodemanager.aux-services</name>
    <value>mapreduce_shuffle</value>
</property>
</configuration>
Start Services
Use command
start-dfs.sh
to start HDFS, including a name node, a data node and secondary name node. Use
jps
to list the running services, this command stands for java ps. Use command
start-yarn.sh
to start YARN. After this we'll be able to access Hadoop through some web interfaces, e.g. 50070, 50090, 8088 etc.
Hadoop Tests
Use the hadoop example jar file and execute
hadoop jar $HADOOP_HOME/share/hadoop/mapreduce/hadoop-mapreduce-examples-2.8.1.jar pi 10 10
This command estimates the value of PI. If there are results like
Job Finished in 71.946 seconds
Estimated value of Pi is 3.20000000000000000000
Congratulations. More information of the example jar file can be displayed without passing in any parameters, like
hadoop jar $HADOOP_HOME/share/hadoop/mapreduce/hadoop-mapreduce-examples-2.8.1.jar